How to draw a fantasy map for your novel
A map helps your reader find their way and helps you notice what your story forgot. This method starts from the text, and the coastline comes second.
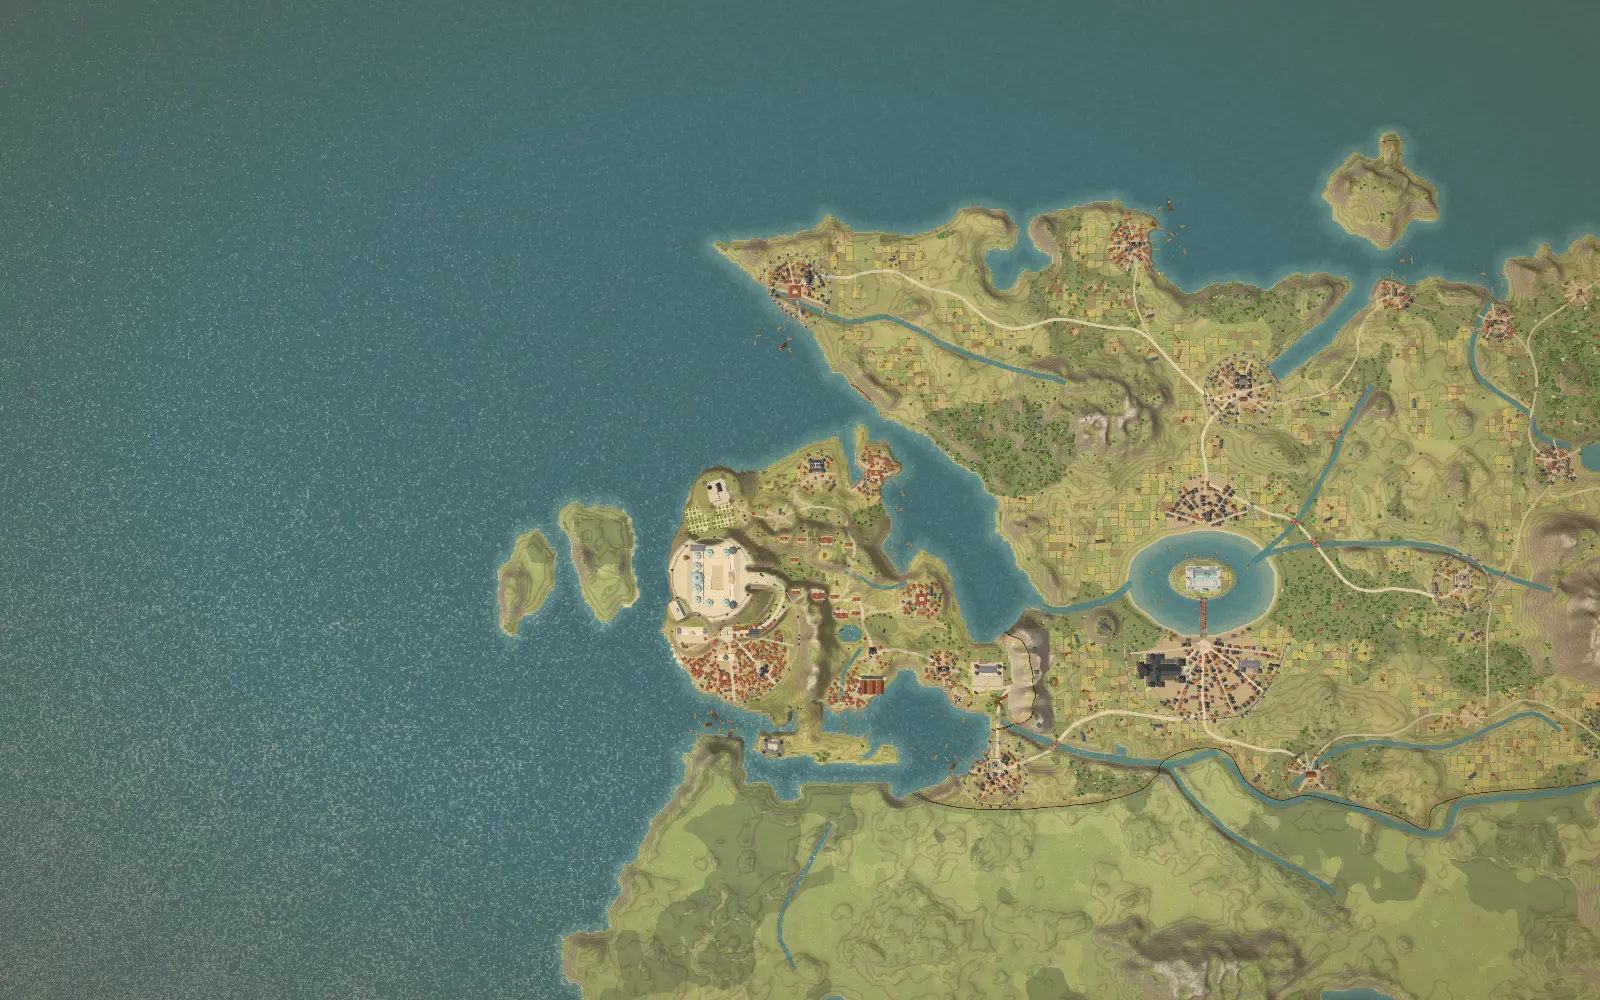
Decide what the map is for
Before drawing anything, write one sentence: what should a reader understand by looking at this map? For a quest story, it may be the distance between the start and the goal. For a political story, it may be who borders whom. For a sea voyage, it may be the shape of the coast and the ports along it. That sentence tells you what to draw first and what to leave out.
Most novels need less than they think. A map that shows the twenty places your readers will meet is more useful than a world with two hundred names nobody reads.
Step 1. List the places your text already names
Open your manuscript and write down every place a character visits, mentions or travels toward. Add rough relations as you go: north of, a week from, on the coast, across the river. These notes are your constraints. The map has to agree with them, and a good map will reveal the ones that contradict each other.
If your manuscript is long, Mapella can read it for you and propose the places, regions and journeys it finds. Whatever method you use, keep the list: it is the spine of the map.
Step 2. Place the land and the water
Start with the large shapes: the coastline, the seas, the main lakes. Draw them rough. If your story has a sea crossing, the sea comes first. If it has a long overland road, start with the land that road crosses.
Resist the urge to polish. At this stage you are deciding where things are, not how they look. A coastline can be redrawn in a minute. A city placed in the wrong region is much harder to move once you have written ten chapters around it.
Step 3. Add mountains, rivers and forests
Relief decides where people live and travel. Put the mountain ranges in place, then let the rivers run from the heights toward the sea. Realistic geography for a fantasy map explains the rules that keep a made-up world believable, such as rivers that join rather than split, and dry land behind tall mountains.
Step 4. Place cities, villages and roads
Put your cities where the story needs them, then check that real life would have put them there too: near water, at a crossing, on a harbour, along a trade road. If a city sits in the middle of a desert for plot reasons, give it a reason to exist, such as a spring, a mine or a pilgrimage.
Then draw the roads. Roads follow valleys and passes, and they do not climb mountains in straight lines. The roads give you the travel times, which is the next step.
Step 5. Check distances against your text
Pick a journey from your manuscript, for example three days on horseback, and measure it on the map. If the distance on the map does not match the time in the text, adjust one of them. Distances and travel time gives approximate figures for walking, riding and sailing so that you can do this without guessing.
This check is the reason a map is worth drawing. It catches the character who crosses a continent in a weekend.
Step 6. Name things consistently
Give each culture its own sound and let the names of its places follow it. A region settled by one people shares endings and roots. How to name the places on a fantasy map shows how real names layer over centuries, which is what makes a map feel inhabited.
Step 7. Choose a style and add the finishing touches
Only now decide how the map looks. A parchment style suits a medieval tale, a clean atlas style suits a story set in an age of exploration, a relief view helps a reader picture a mountain pass. Add a compass rose, a scale bar and a legend if they help the reader, and cut what does not. The cartography glossary explains each element.
Step 8. Keep the map alive while you write
A map drawn once and forgotten drifts away from the book. Update it when a chapter changes a route, add the places that appear in revisions, and note the date of each change. In Mapella, worldbuilding cards sit on the map itself, so the notes and the places stay together.
Common mistakes
- Drawing a huge world for a story that happens in one valley.
- Placing cities first and the land second, which leaves rivers and roads with nowhere to go.
- Using one naming style for every culture.
- Forgetting the scale, so that a day’s ride is sometimes ten kilometres and sometimes a hundred.
- Publishing a map that spoils a twist, for example by showing a place before the characters reach it.
Draw it in Mapella
Mapella follows this method. You can start from a blank land, from your manuscript or from a photo of a sketch, paint the ground, place buildings, trace roads and borders, and tilt the map into 3D to see the relief. The free plan includes two maps; see pricing.
Questions
- Do I need to know how to draw?
- No. You place buildings, paint the ground and trace roads and borders. Mapella models the rest, from the terrain to the roofs.
- How big should the map be?
- As big as your story. Map the region your characters actually cross, and add the rest only when the plot reaches it.
- Should I draw the map before or after writing the novel?
- Either works. Drawing first helps with travel logic, and drawing after keeps you free. Many authors sketch a rough version first and refine it from the text.